Then the actual anodizing takes place in the electrolytic process in sulfuric acid or oxalic acid electrolytes with the application of a direct voltage. After anodizing, the dyeing and then compacting takes place in a hot water bath. The duration of remaining in the compression bath depends on the anodized layer thickness generated, i.e. on the duration of remaining in the anodized bath.
Since we cannot carry out this process at the
university, we did not have 100% control over the process.
We tried with the company to make the material
pickling and the subsequent anodizing layer as thin as possible
in order not to get any sound changes due to the anodizing.
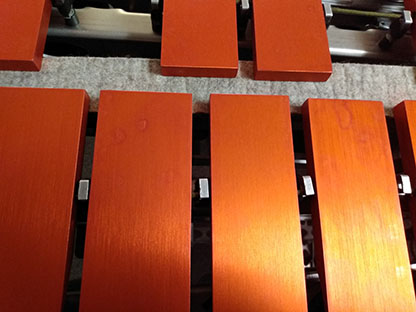
For the most part, this worked very well, only the time in the compression bath was a little too short, so that the paint is still a little bled out in some places.
Overall, however, we were only able to determine small changes in the sound spectrum due to anodizing for the red plates.
Since we were not sure about it at first, we had
reserved a lavish subsidy for retuning.
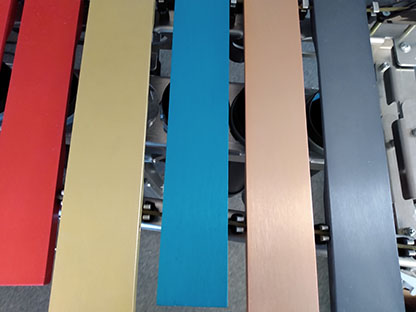
We tried several colors.
For example, the color blue had to be
anodized significantly longer for an intense color, which
resulted in greater changes in the frequency spectrum than with
most other colors.