Step 7: Fine Tuning
Tuning sound bars according to these instructions is at your own risk. The author gives no guarantee!
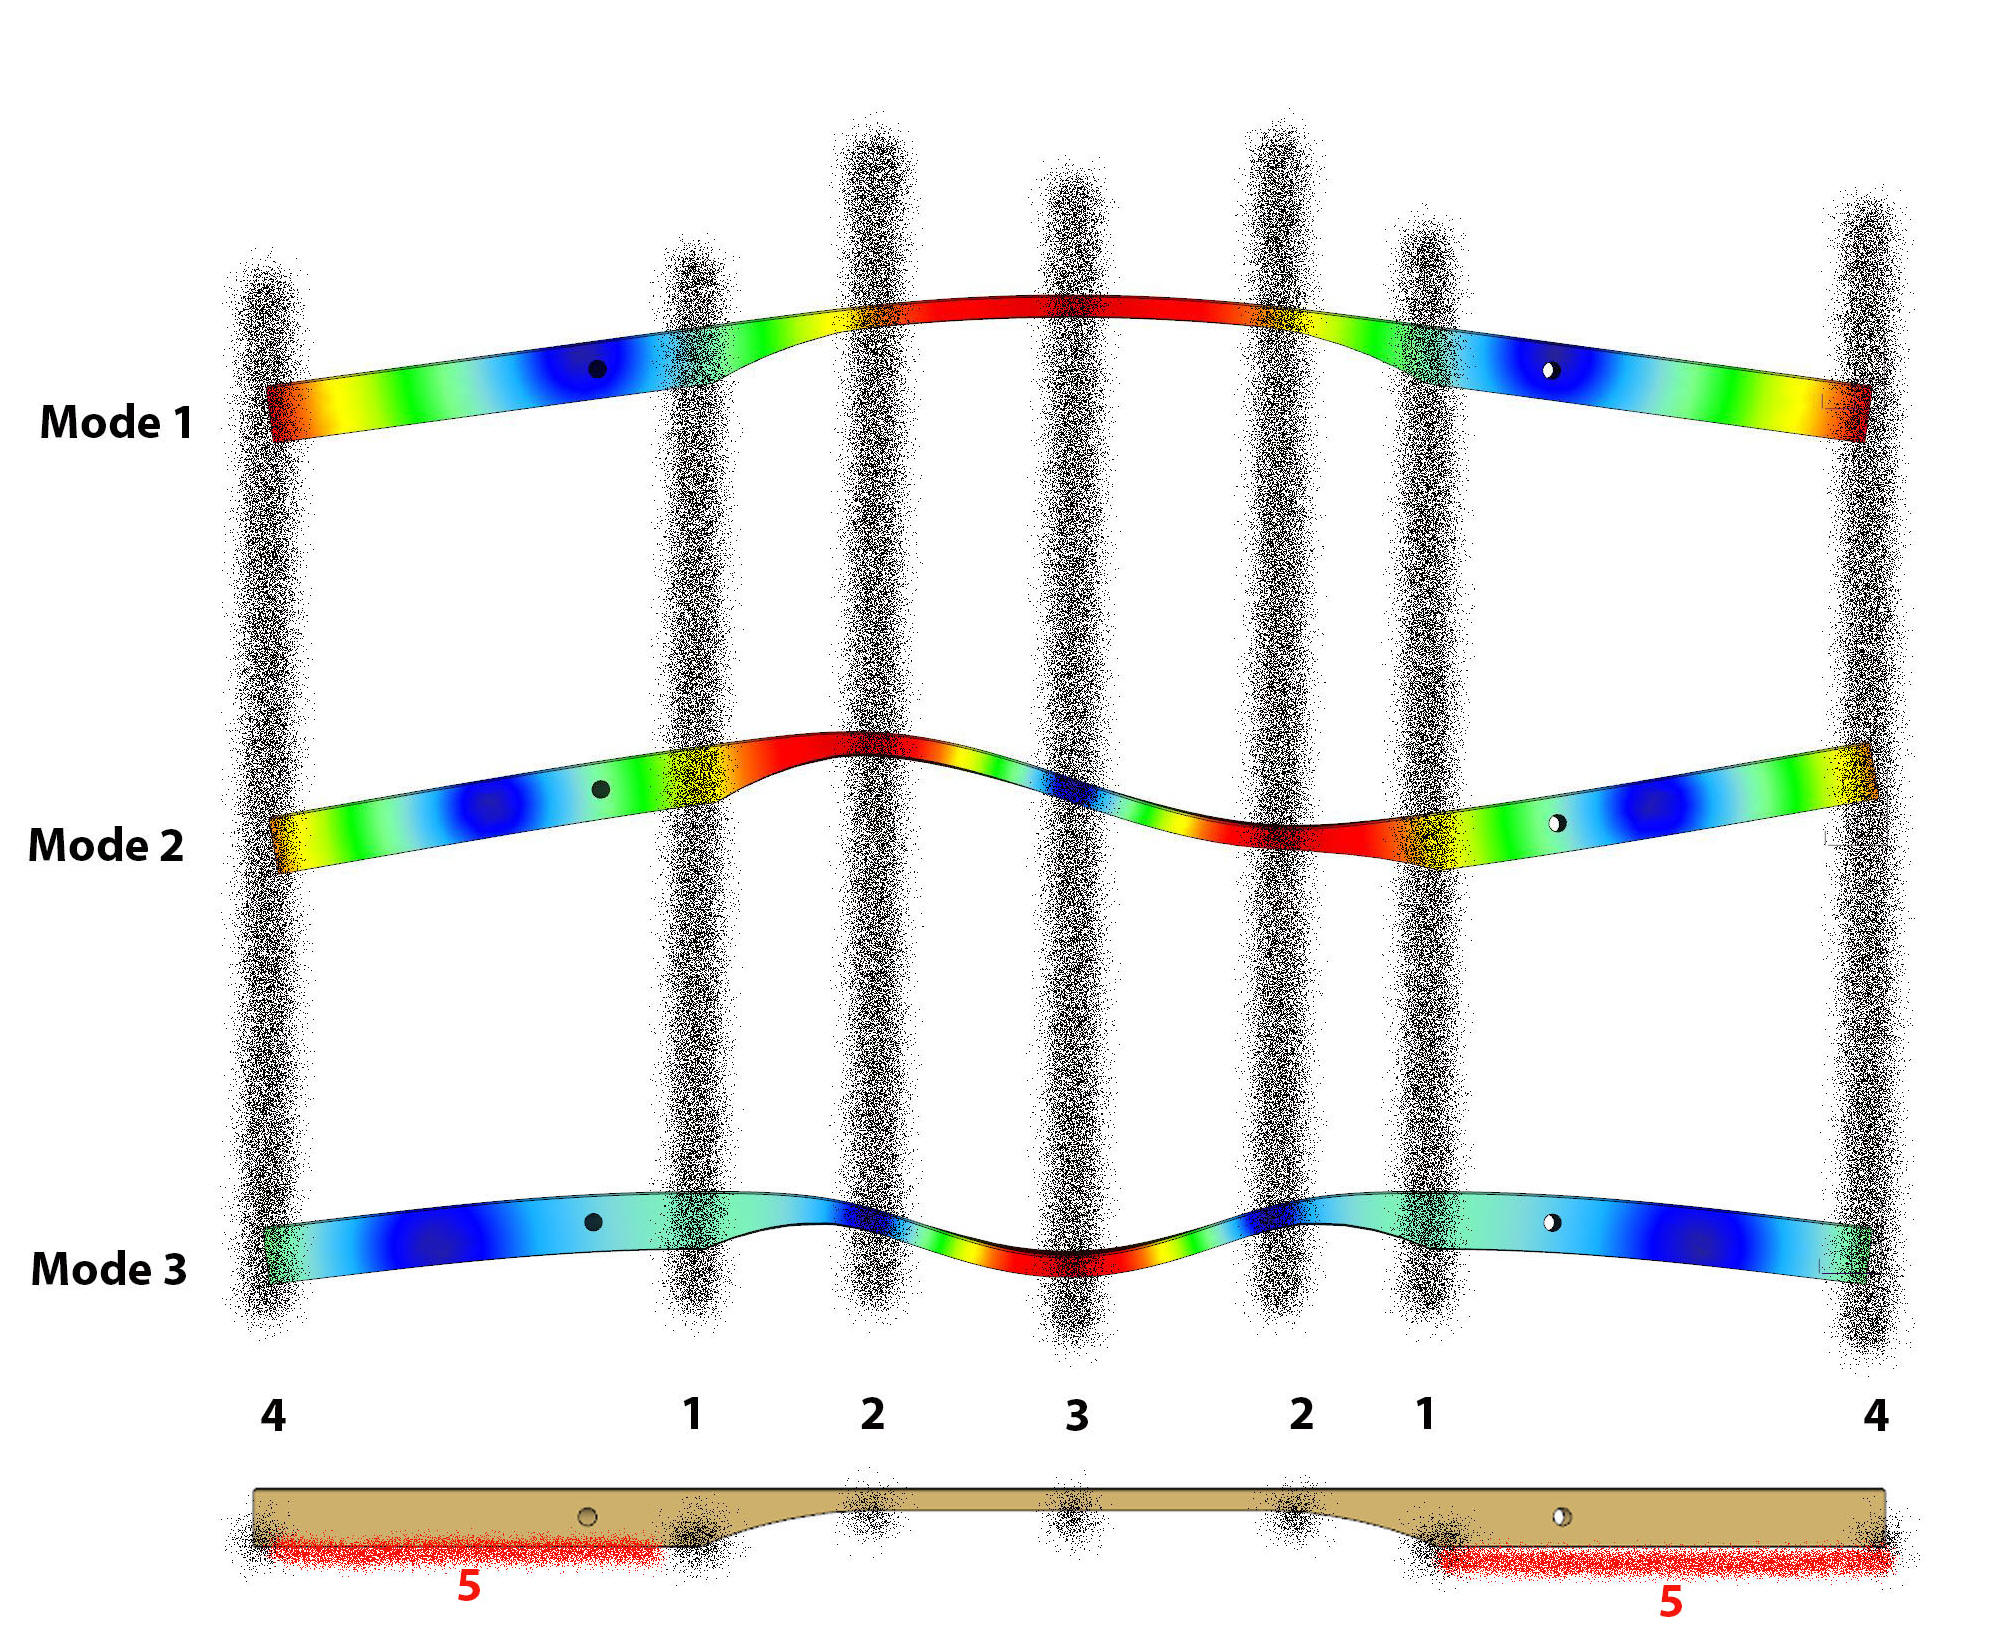
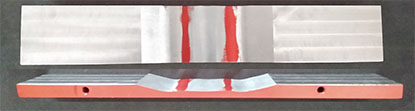
Tuning Zones
For example, a decrease of
material in zone 3 has a very strong impact on
mode 1 (basic tone) and mode 3.
There is almost no effect on mode 2 because
there is the knot for this mode.
A decrease of material in zones 2 significantly reduces the frequency from mode 2, since there is the maximum deflection. However, there is a significant reduction in Mode 1 at the same time, even if the maximum deformation is not there. On the other hand, there is hardly any effect on Mode 3 because it is located in the knot.
The decrease of material in zones 1 achieves a significant reduction in the frequency from mode 3, since there is a greater deflection in an antinode, as well as a medium reduction in mode 2 and less reduction in mode 1.
A decrease of material in zones 4 reduces the frequencies of all modes quite considerably, since there the large vibration amplitudes lie in all modes.
How To Tune
Finally, the basic tone (mode 1) is tuned by removing material in zone 3. Mode 3 also lowers somewhat. Therefore, a reserve was necessary in the first steps.
Tuning zone 4 should not be used.
In general, it is recommended not to try to get to the target frequency right from the first step, but to approach the target in small steps and to go through the entire process several times. It is not possible to give a percentage for the respective effect of the material contributions, but you will quickly get a good feeling of how much material you have to remove.
It is also advisable to handle a bar set in the logical order (from the lowest to the highest tone, or vice versa), since the required measures are very similar from bar to bar.
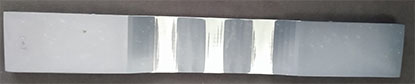
Tuning Methods
We have tested different methods for fine tuning. All methods carefully applied lead to the same result. I.e. the choice of method depends solely on the tools available.
|
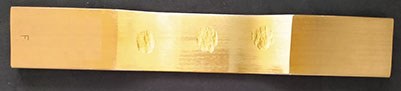
Fine tuning with a hand milling cutter before anodizing (Musser original bar) |
 |
|
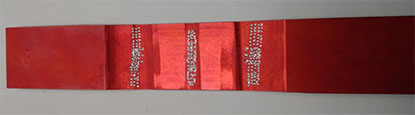
Fine tuning with a hand milling cutter after anodizing A larger hand milling cutter would have been better, but was not available to us. |
 |
|
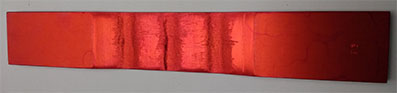
Fine tuning with a belt sander after anodizing Tuning works very well with the belt sander, but you have to work carefully because you can remove a lot of material very quickly. |
 |
|
Tuning with a hand file before anodizing The change in the frequency spectrum due to anodizing remains unconsidered or must be known exactly before. |
 |
|
Tuning with a hand file and then
manual sanding
after anodizing Works very well, but is a bit exhausting with a complete bar set. |
 |
| Up-tuning of a bar that is too low-tuned by removing material by milling (reducing the bar thickness). |
 |