As the last process in
the development of a vibraphone, after initial hesitation -
I didn't like the extreme wah-wah effect - I examined the
vibration unit and built and tested a
variant that was also suitable for the tube-in-tube
concept.
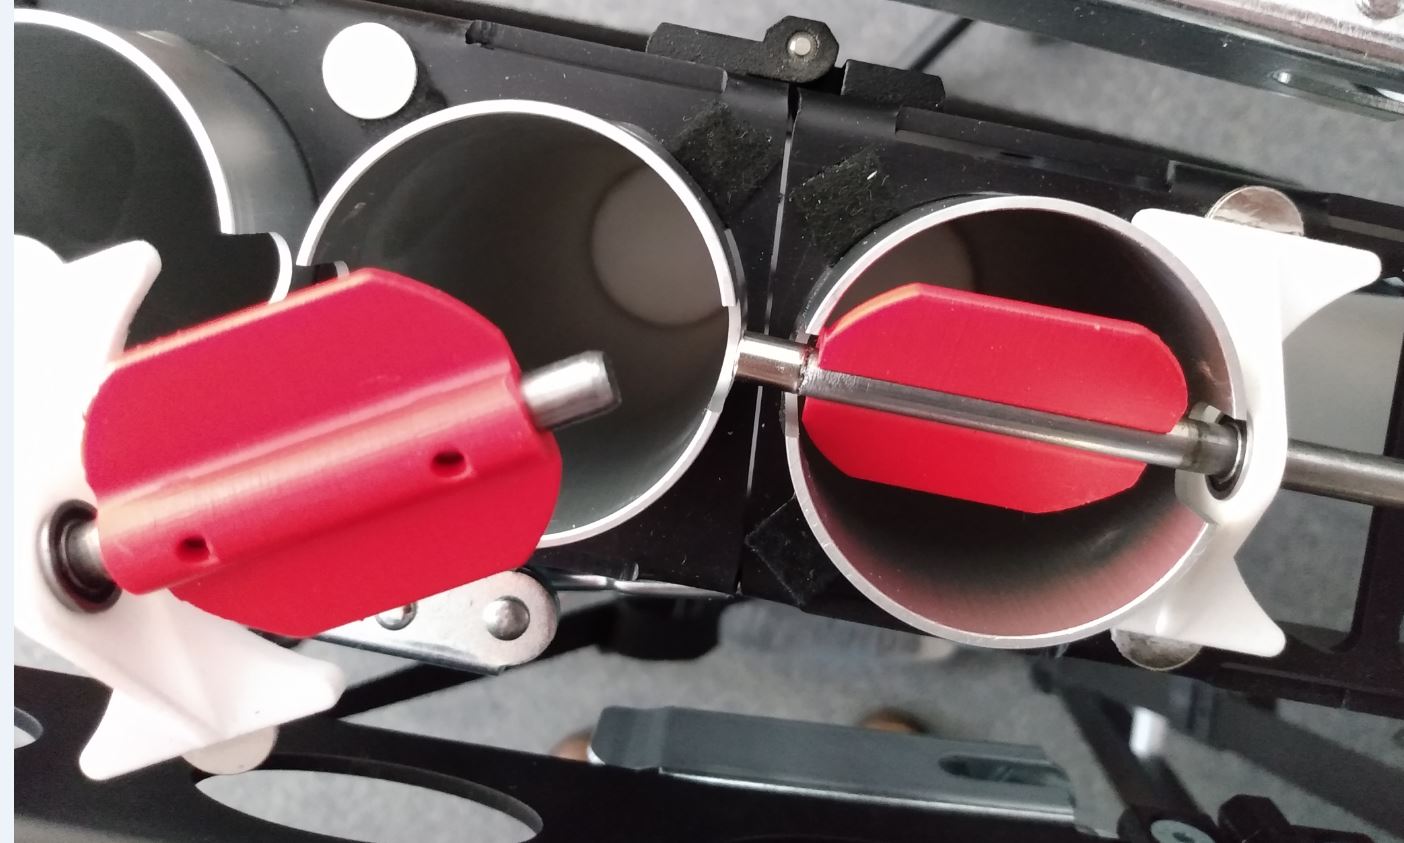
3D-printed flaps to clip on
In the first step, 3D printed flaps were used to clip onto the shaft. This made it possible to change the alignment of the flaps at any time. If the flaps are not used in a line, but with rotation offset, the result is a very nice, room-filling and gentle vibration effect, without the simultaneous thumping (wah-wah).
The two shafts per row of resonance tubes are fixed in the bearing blocks by magnets. These allow easy loosening, i.e. removing the shafts and automatically pulling them into the correct position when installing the shaft, so that no alignment is required.
Drive
The shafts are driven by a separate stepper motor (NEMA 17) with a common control for each row of resonance pipes.
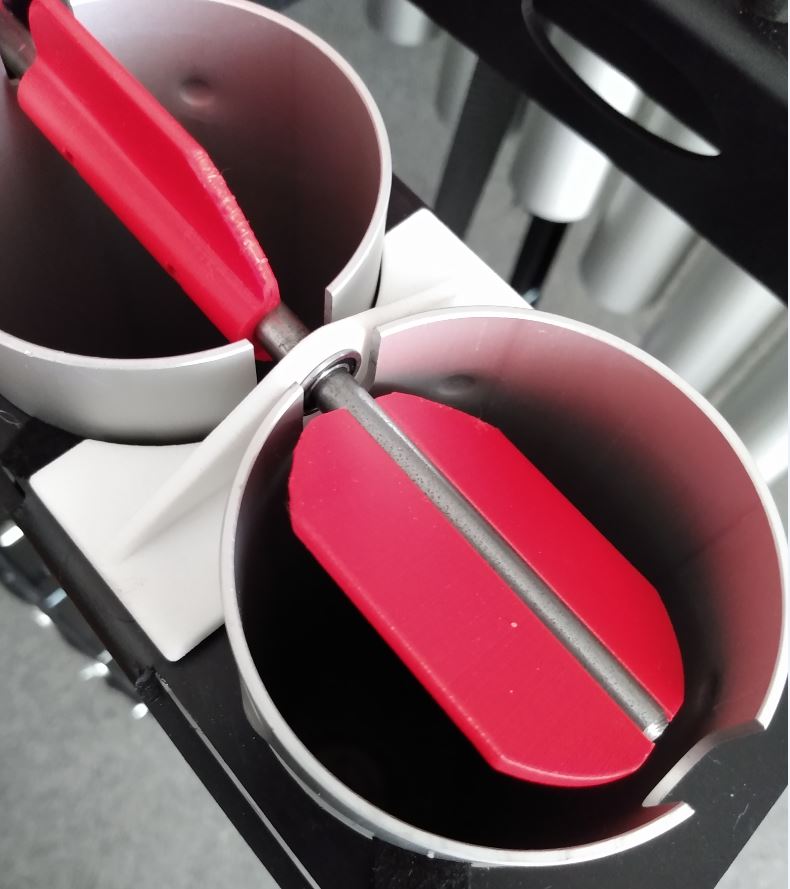
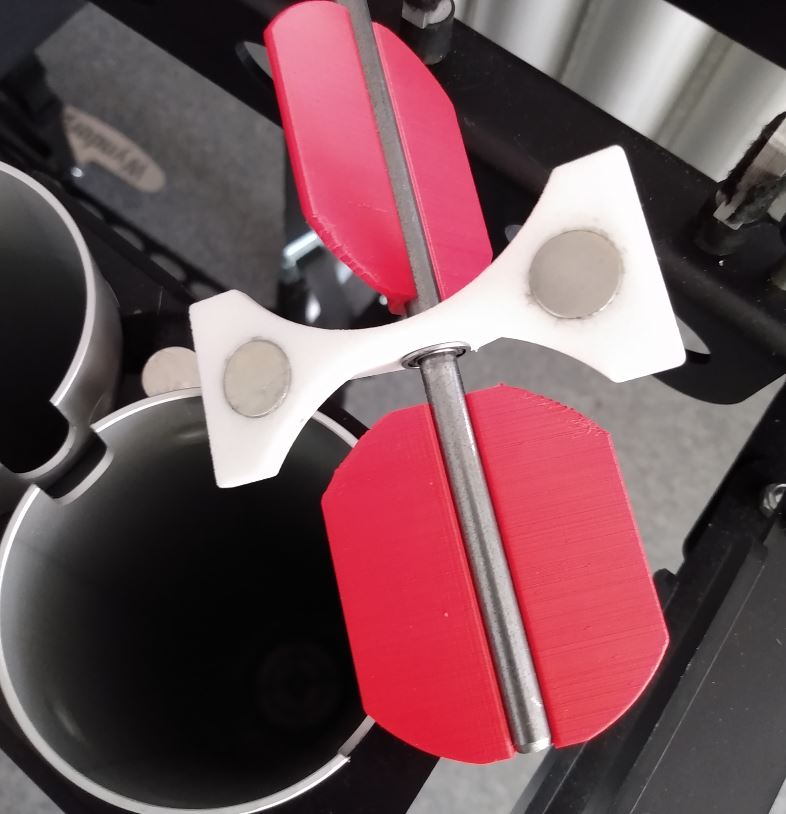
The two shaft halves are also coupled only by a magnet. No alignment during installation is necessary here either.