Step 7: Fine Tuning
Tuning sound bars according to these instructions is at your own risk. The author does not provide any warranty.
Tuning Zones
The tuning zones of a sound bar are marked with dotted lines and numbered. The greatest effect on the respective natural mode is always achieved by removing material at the points of greatest deflection.
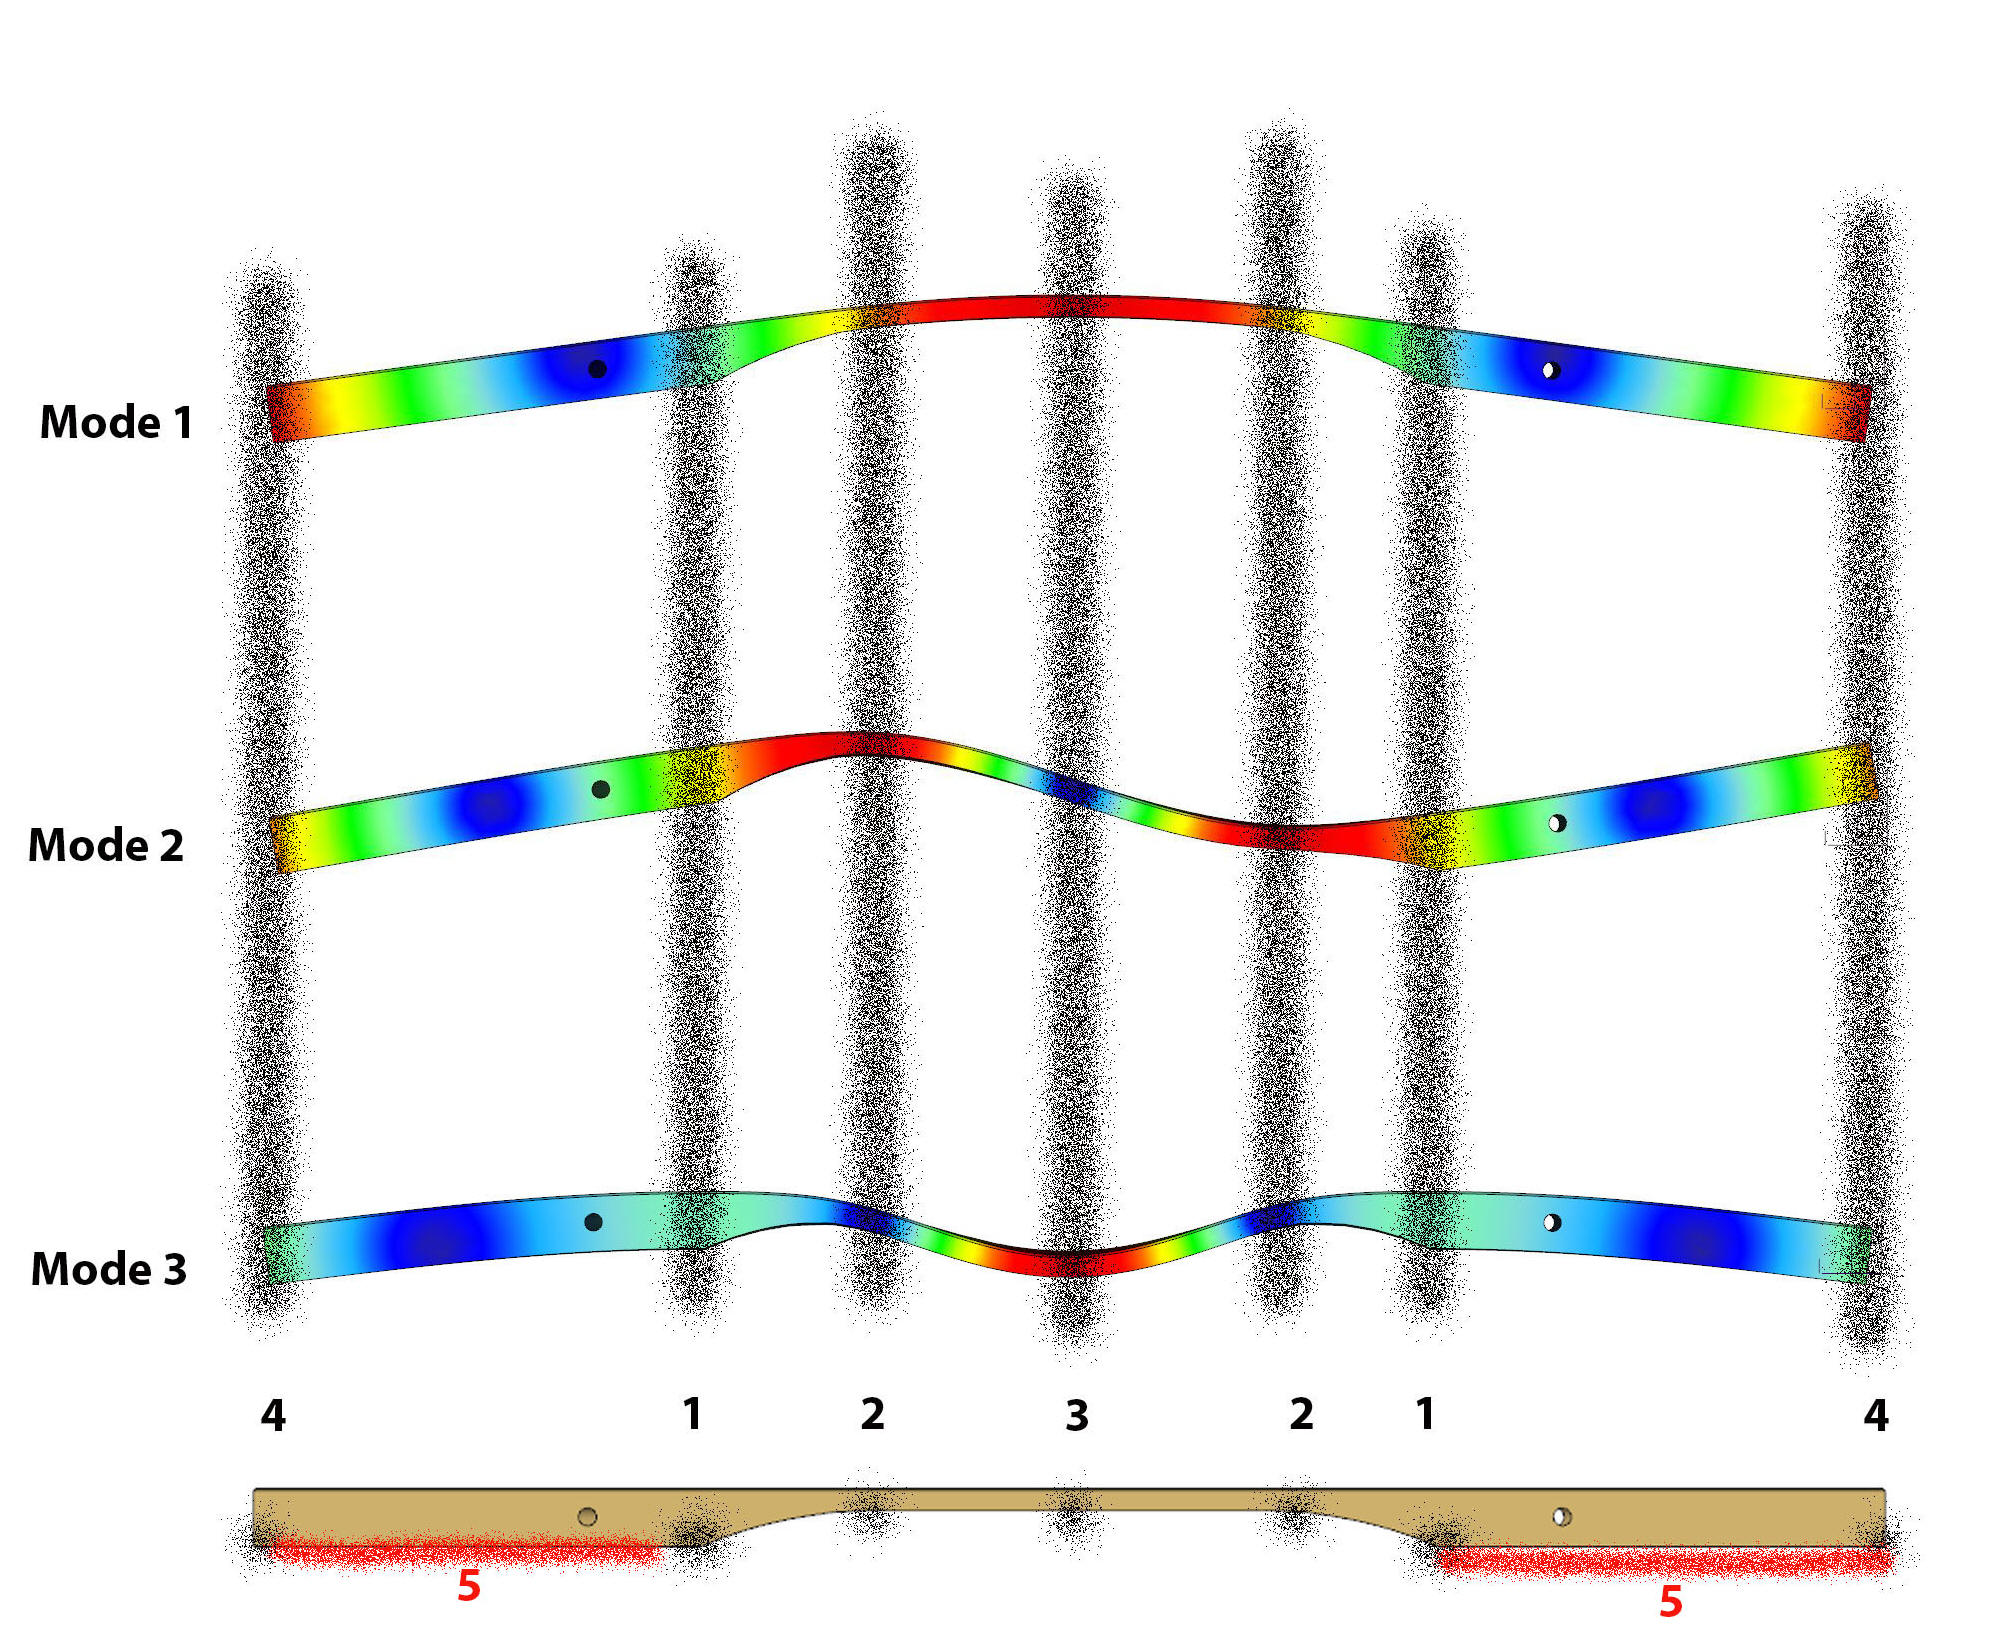
Removing material in zone 3 has a very strong effect on mode 1 (fundamental tone) and mode 3. Grinding in this area has virtually no effect on mode 2, as this is where the node for this mode is located.
Material removal in zones 2 significantly reduces the frequency of mode 2, as this is where the maximum deflection is located. However, at the same time, there is a considerable reduction in mode 1, even though this is not where the maximum deformation is located. In contrast, there is hardly any effect on mode 3, as it is located in the node.
The material reduction in zones 1 achieves a significant reduction in the frequency from mode 3, as it is located in an antinode with greater deflection, as well as a moderate reduction in mode 2 and a smaller reduction in mode 1.
A material reduction in zones 4 reduces the frequencies of all modes quite significantly, as this is where the large vibration amplitudes are located for all modes.
Material removal in zone 5 increases the frequencies of all modes, especially mode 1, then mode 2, and least of all mode 3. This approach is only necessary if a sound bar has been tuned lower than the target frequency.
Material removal from a tuning zone should always be as symmetrical as possible to both axes of the sound bar (i.e., lengthwise and crosswise).
Tuning Procedure
Since the goal when tuning a sound bar is to bring each mode into a defined frequency range, a logical sequence of tuning steps is necessary:
Starting from a suitable preliminary geometry, material removal in zones 1 is first attempted to bring mode 3 close to the desired frequency.
Then, by removing material in zones 2, mode 2 is brought close to the desired frequency. Mode 1 also changes as a result.
Finally, the fundamental tone (mode 1) is tuned by removing material in zone 3. Mode 3 also decreases slightly in the process. Therefore, a reserve was necessary there in the first step.
Tuning zone 4 should not be used. Tuning zone 5 is only used if the sound bar is tuned too low.
In general, it is advisable not to try to reach the target frequency right away, but to approach the target in small steps and repeat the entire process several times. It is not possible to specify a percentage for the respective effect of the material additions, but you will quickly get a good feel for how much material you need to remove in each case.
It is also advisable to process a set of bars in logical order (i.e., from the lowest to the highest tone, or vice versa), as the necessary measures are then very similar from bar to bar.
Correction Tuning
Raising the pitch of a bar that is tuned too low by milling off a layer from the underside..
This method is only recommended to a limited extent, as the bar position on the damper and thus the damping behavior are changed by the material removal.
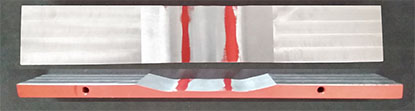
It is better to drill larger holes on both sides, centered between the outer edge and the cord hole in the underside of the bar.
 Raising the pitch (better way)
Tuning - Methods
We have tested different methods for fine tuning. When applied carefully, all methods lead to the same result. This means that the choice of method depends solely on the tools available.
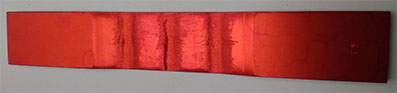
 Fine tuning with a rotary tool before anodizing
(Musser original bar)
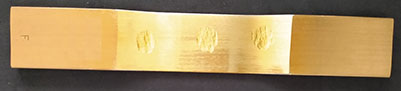
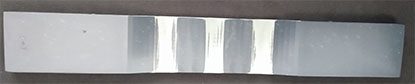
 Fine tuning with a small rotary tool after anodizing
A larger rotary tool would have been better, but we didn't have one available.
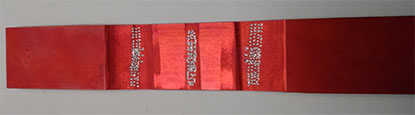
 Fine tuning with a belt sander after anodizing
The belt sander works very well, but you have to work very carefully because you can remove a lot of material quite quickly.
 Tuning with a hand file before anodizing
The change in the frequency spectrum caused by anodizing is not taken into account and must be known in advance.
 Tuning with a hand file and subsequent sanding after anodizing.
Works very well, but is a bit tiring with a complete set of bars.