Step 5: Milling
Since we wanted to carry out the milling work on the machines at our university, we also had to create the program for controlling the milling machine ourselves. To do this, we defined suitable milling operations in the manufacturing module of our CAD system:
- Roughing with an end mill
- Finishing with a ball end mill
We milled the bars with very low infeeds and feeds at high spindle speeds. This means that both the tool and workpiece loads and the heat input into the bar are very low.
The milling preparation shown in the simulation is normally carried out by the company performing the milling work. It is usually sufficient to provide a suitable company with a digital data set (STEP, IGES) of the sound bar and the accuracy requirements.
There are a large number of qualified companies, at least in Germany, most of which are located in the immediate vicinity.
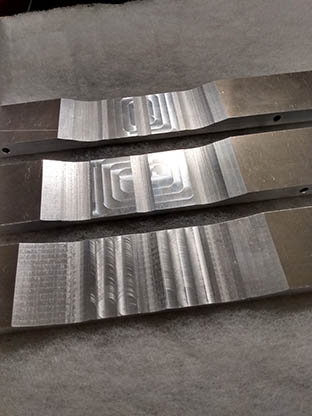
During our work with the students, we tried out various milling strategies, and found that the forward and backward movement across the bar was the most suitable and fastest.
Before anodizing, we removed the small burrs along the milling marks very gently with a belt sander. The subsequent frequency check showed excellent agreement with the previously simulated values.
Since we were initially unsure about the quality of our simulation, we maintained an allowance of 0.2 mm for the calculated target geometry during the milling processes at the tuning points. We then had to remove this allowance again during fine tuning after anodizing. This allowance will not be used for the next set of bars.
We underestimated the difficulty of drilling holes for the strings . Unfortunately, we did not have a 5-axis milling machine available for machining. Therefore, we drilled the holes by hand on a normal drill press. In most cases, this turned out quite well, but in some cases it did not. Imprecise drilling angles lead to tension in the cord. This hinders the bar's free vibration and thus reduces the bar's decay time.
If it is not possible to carry out all milling work, including drilling, with a 5-axis milling machine, the following procedure is recommended:
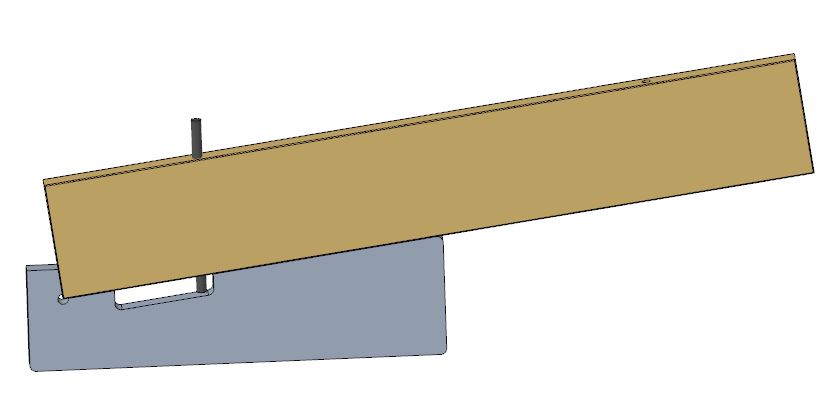
- Since there are only two angles at which the holes can be drilled in a vibraphone, a simple plate is recommended for each angle to aid alignment. These alignment plates should be thinner than the sound bars so that the vise can clamp the sound bars.
- The string holes should be drilled before the tuning geometry (milling work on the underside) is added.
- Before drilling, a drill guide should first be created using a short, tightly clamped centering tool, as positioning a drill bit at an angle to the drilling surface is always critical, especially when a longer drill bit is required for wide bars.