Step 4: Material Selection and Surface Structure
Material Selection
The question of the material initially seemed problematic to us, as the manufacturers of high-quality vibraphones give the impression on their websites that they use alloys specially developed for this purpose. That may well be the case, but based on our current knowledge, it seems rather unlikely. Any kind of special alloy would have been out of the question for us due to the lack of the required quantities and the associated costs. For the same reason, it also seems unlikely for other manufacturers, unless they produce large quantities.
It was clear that we needed a hardenable aluminum alloy with higher strength for the sound bars, which was available as plates or profiles. The following were therefore considered:
- EN AW-7075 (AlZnMgCu1,5)
Tensile strength approx. 550 N/mm², not suitable for decorative anodizing, hardness HB 150 - EN AW-2024 (AlCuMg2 / AlCu4Mg1)
Tensile strength approx. 450 N/mm², not suitable for decorative anodizing, hardness HB120 - EN AW-2017A (AlCuMg1)
Tensile strength approx. 390 N/mm², not suitable for decorative anodizing, hardness HB 105
Of this group, only the third-ranked material, EN AW-2017A, was available at low cost in our small quantities, so the decision to use this material was quickly made. It is conceivable that a harder material might produce even better sound results.
Surface Texture
For an initial trial, we glass bead blasted a sound bar before anodizing it. It looked very good before anodizing, but after anodizing, the surface appeared very blotchy, as the slightest differences in the concentration of the blasting were highlighted by the anodizing process.
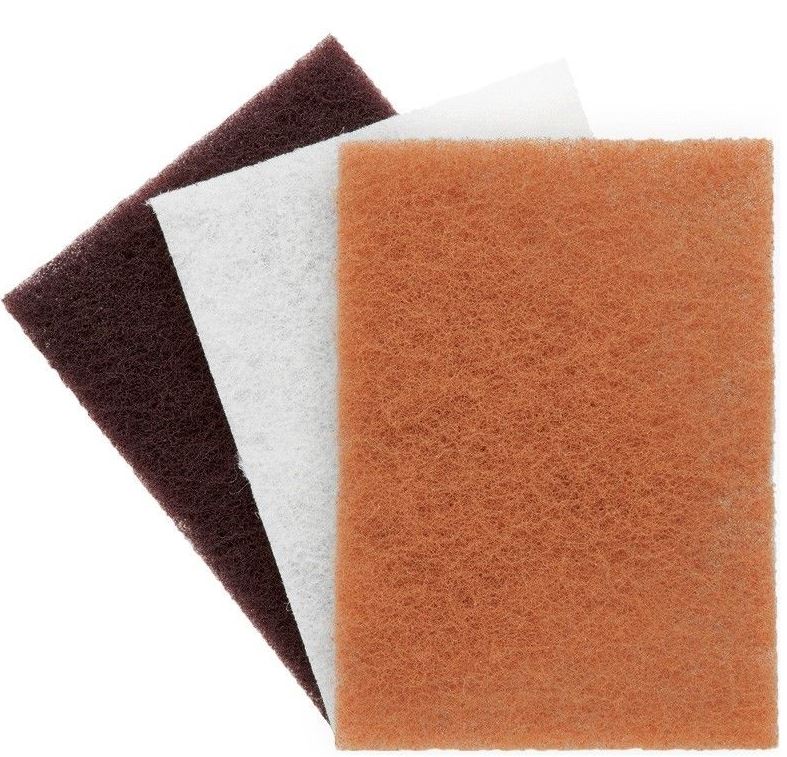
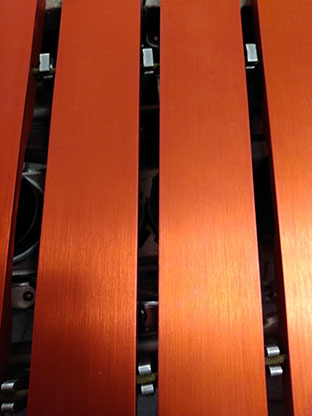
We then brushed our sound bars lightly by hand with standard polishing mats in a longitudinal direction to achieve a reasonably even and not overly reflective surface. The resulting surface structure remained visually very pleasing even after anodizing.